What Is Sintered Stone?
Sintered stone is made by fusing premium natural minerals, clays and feldspar under extreme pressure and temperatures above 1200°C using Italian sintering technology. The process compresses millions of years of geological formation into a single industrial cycle, producing a high-density, fully non-porous slab.
The result goes beyond natural stone: absolute resistance to heat, scratches, stains, UV and chemicals in a sleek, minimal thickness. With zero resin binders and zero crystalline silica, it is a food-safe, fabricator-safe canvas for kitchens, baths, furniture, facades and high-traffic commercial interiors.
We supply sintered stone to our wholesale partners in jumbo formats up to 72" x 142", in polished, matte and honed finishes, and in a curated range of marble-look and solid-tone designs.
Key Properties
Exceptional wear resistance with enduring beauty, for boundless interior and exterior design.
The Sintering Process
Three phases transform raw mineral powder into an apex surface that is immune to UV, heat, stains and chemicals.
Ultra-Density Compaction
Premium minerals are pulverized and compressed under enormous pressure, eliminating air pockets for a flawless, dense core.
Thermal Fusion (>1200°C)
The compacted body travels through the sintering kiln where the elements vitrify and molecularly fuse at temperatures above 1200°C.
High-Definition Artistry
Advanced digital technology injects ultra-HD veining deep into the slab, sealed with a protective tactile finish.
Available Formats
From 36" x 72" panels to 72" x 142" jumbo slabs, in four thicknesses and three surface finishes.
36" x 72"
900 x 1800 mm
36" x 96"
900 x 2400 mm
72" x 96"
1800 x 2400 mm
72" x 110"
1800 x 2800 mm
72" x 126"
1800 x 3200 mm
72" x 142"
1800 x 3600 mm
Full Vein Collection
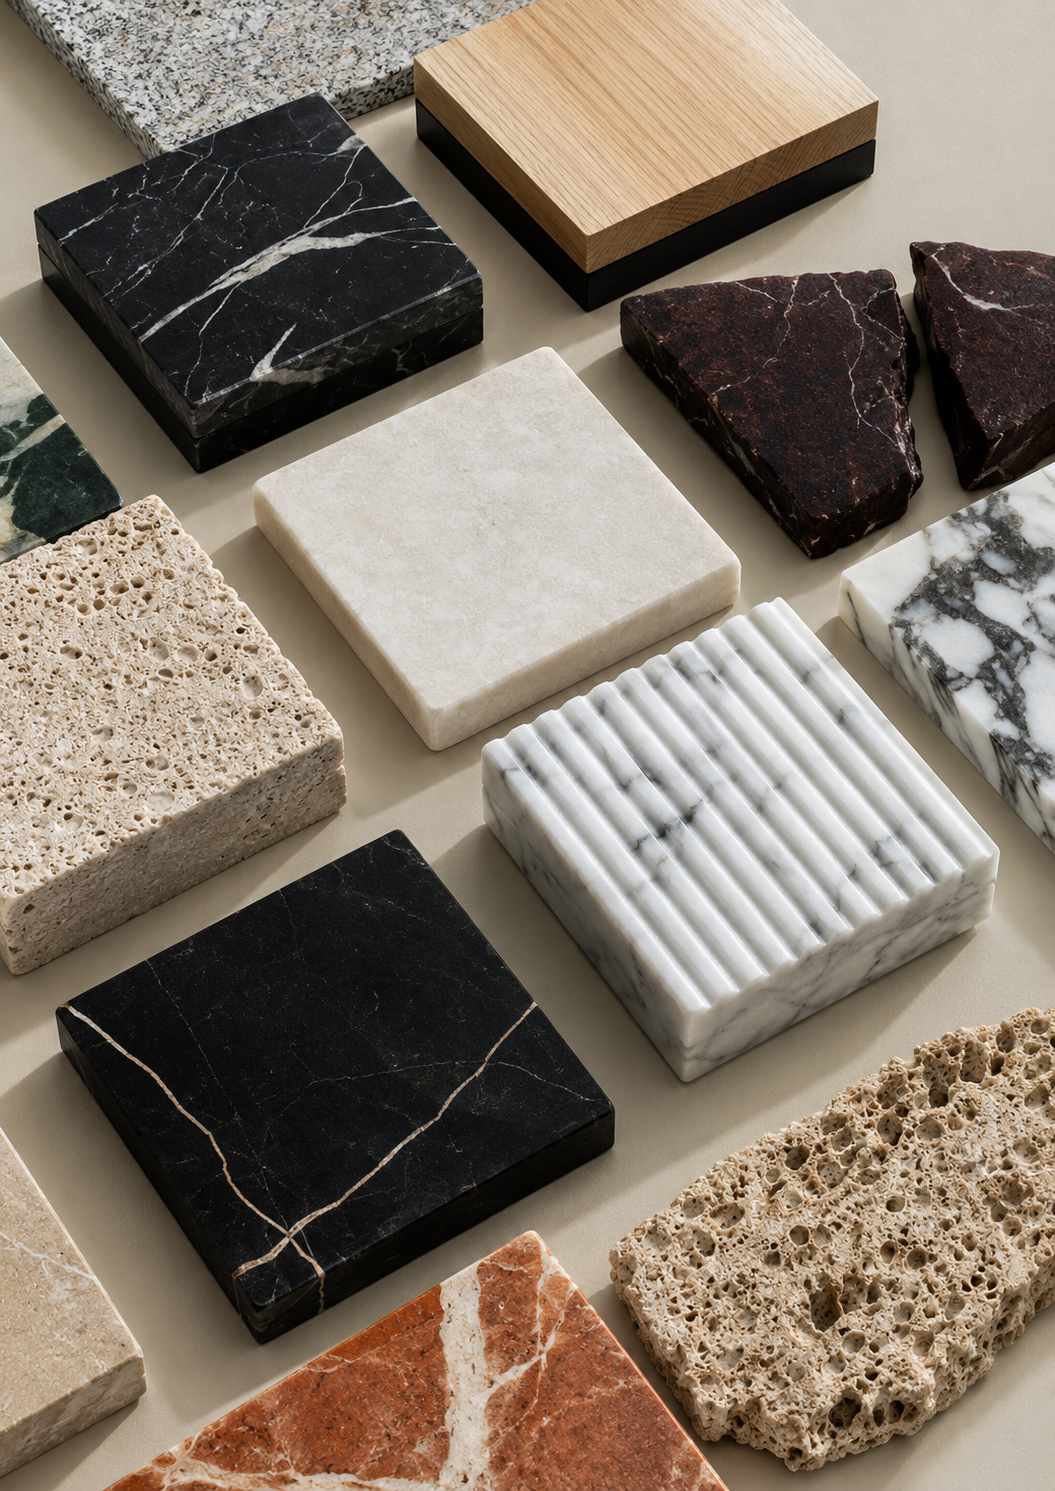
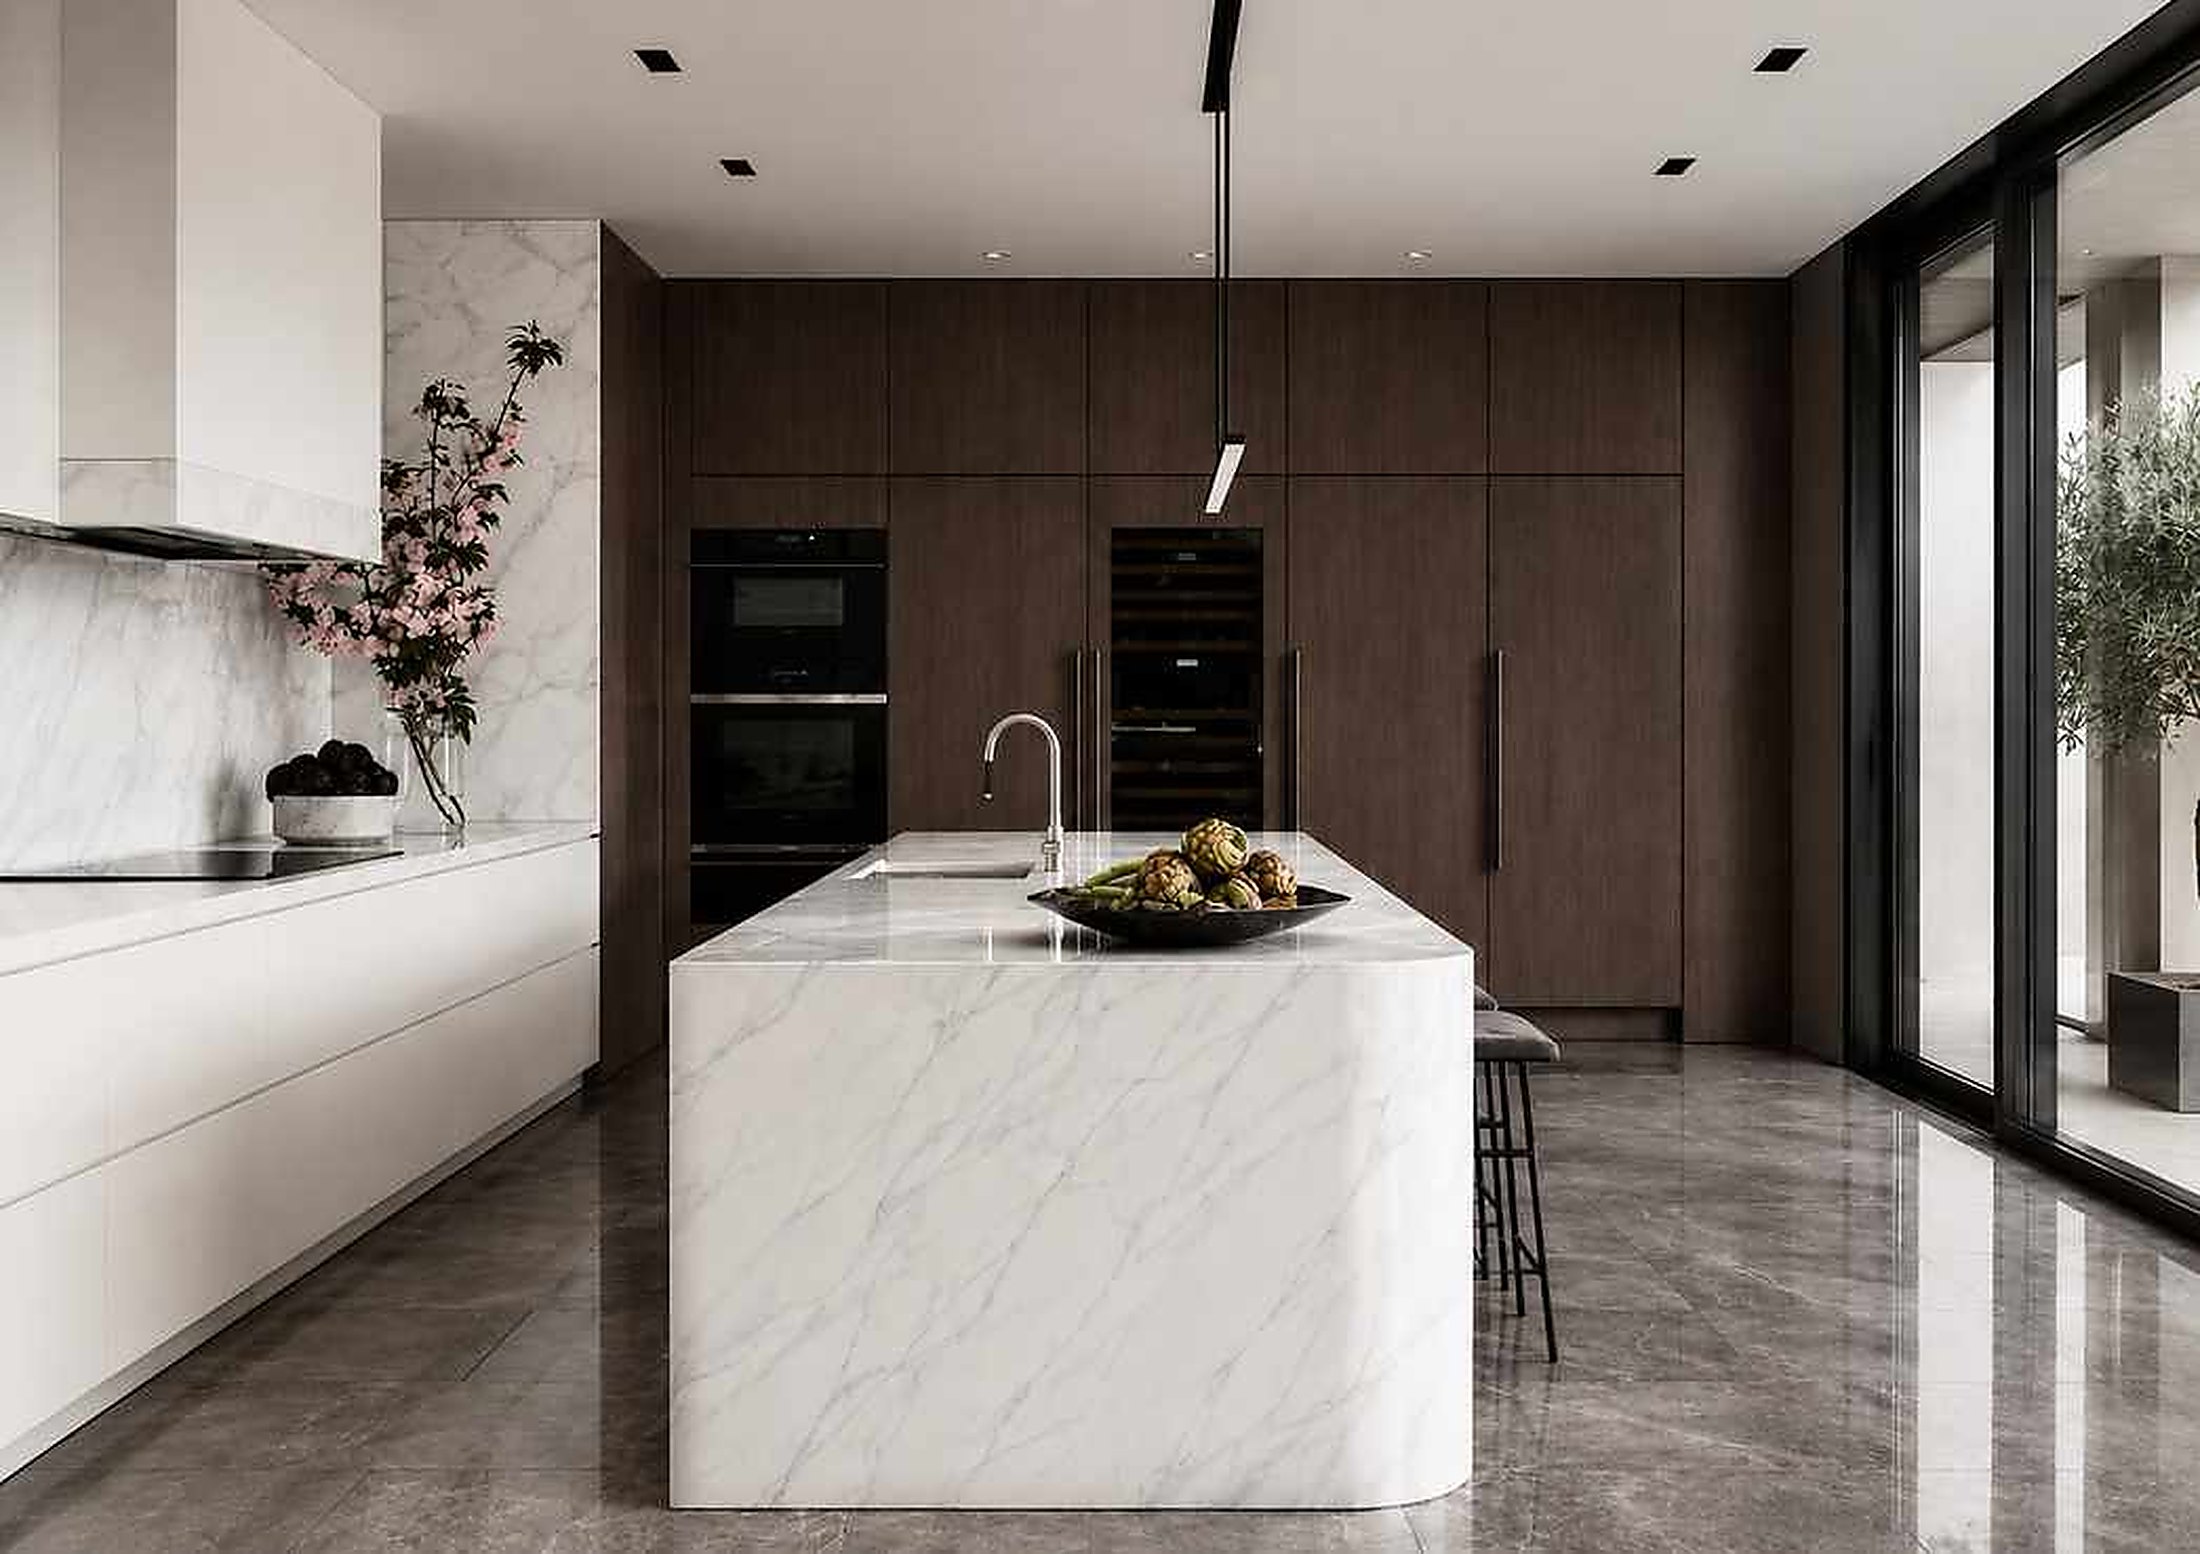
Luxury that runs deep. Authentic through-body veins transition seamlessly from surface to edge, mirroring the solid beauty of quarried stone. Ideal for high-impact furniture, waterfall islands and centerpiece tables where every edge is on display.
Click any slab to view it larger. Actual products may vary from the images shown, including colors and stone vein patterns. Please refer to physical samples for a more accurate assessment.
No Vein Collection
Exclusivity defined by uncompromised purity. A flawless, monochromatic canvas that anchors sophisticated spaces with silent strength, celebrating tactile subtlety and architectural minimalism.
Actual products may vary from the images shown, including colors and stone vein patterns. Please refer to physical samples for a more accurate assessment.
Applications
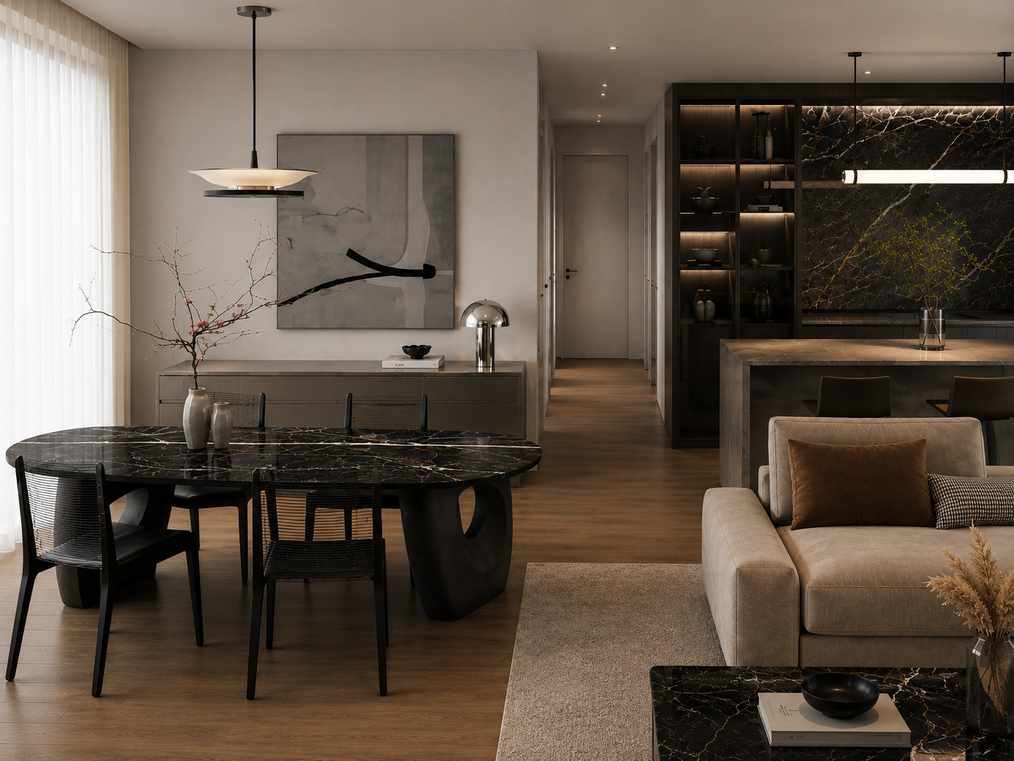
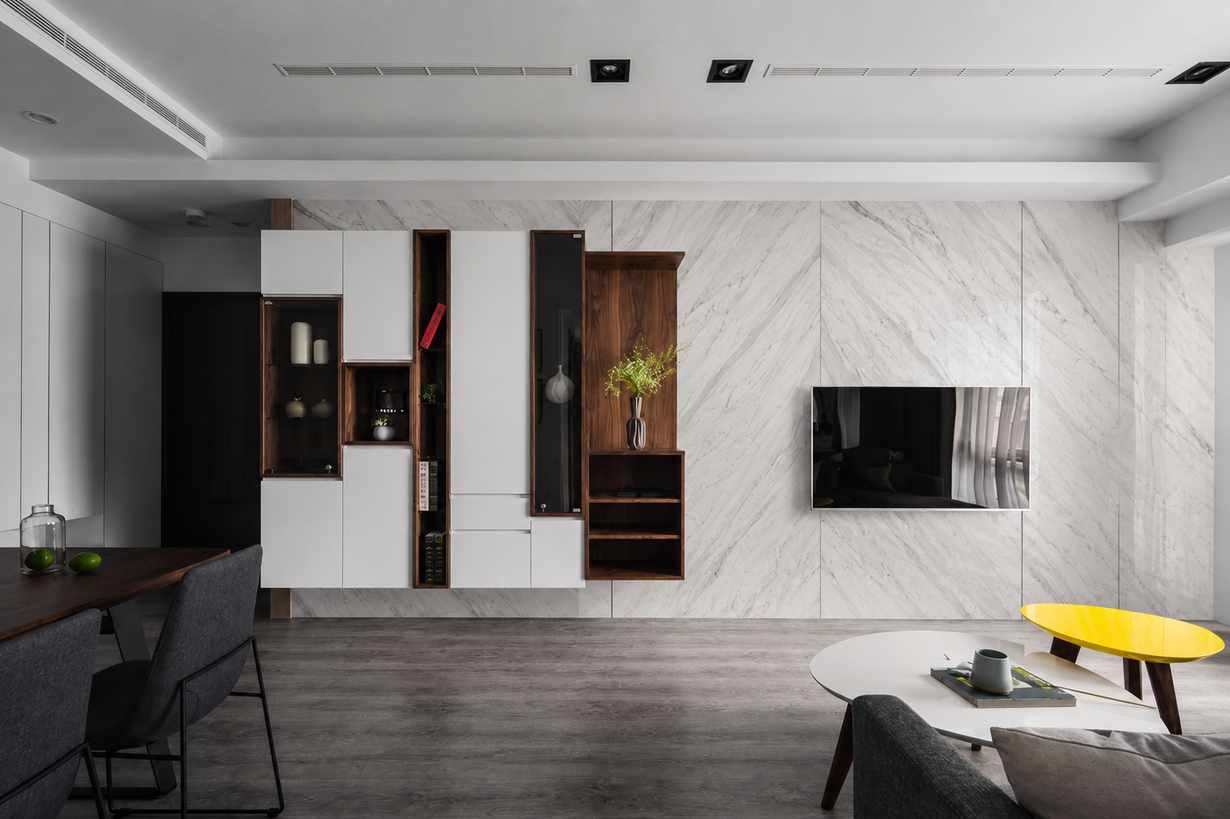
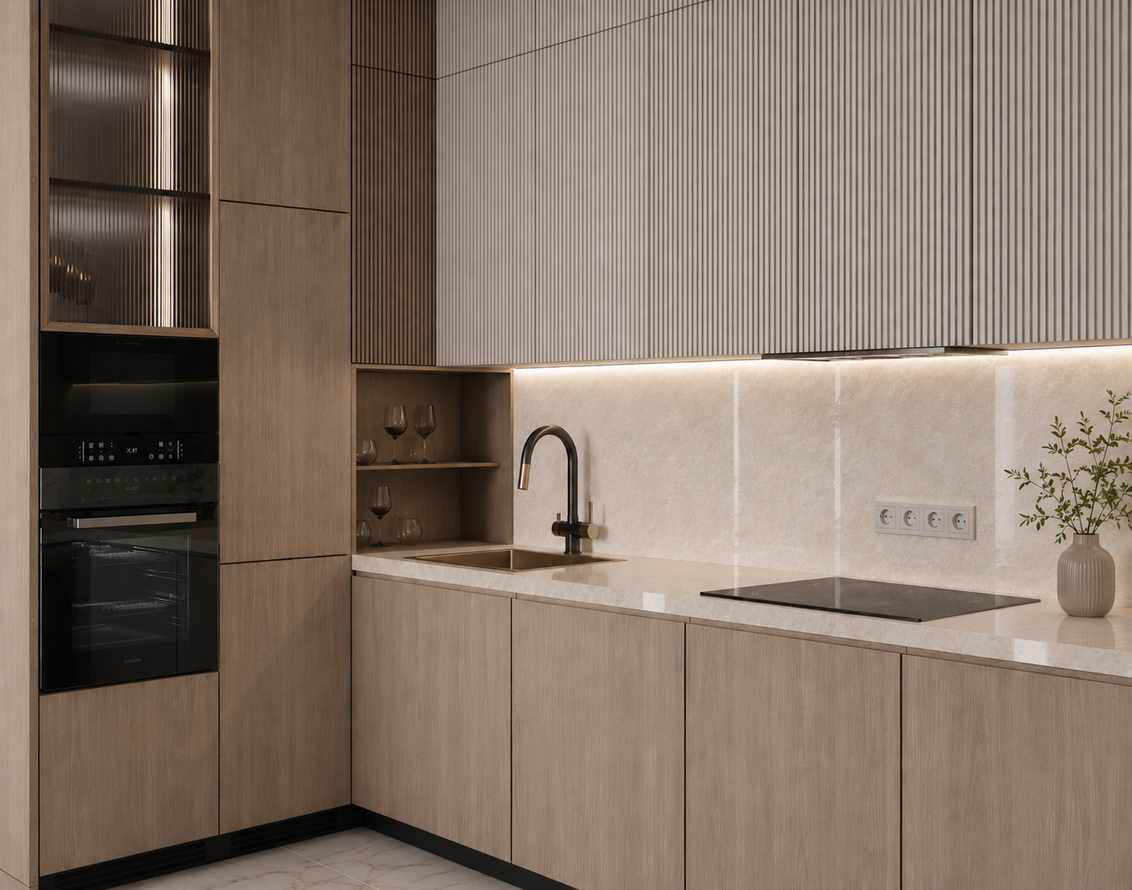
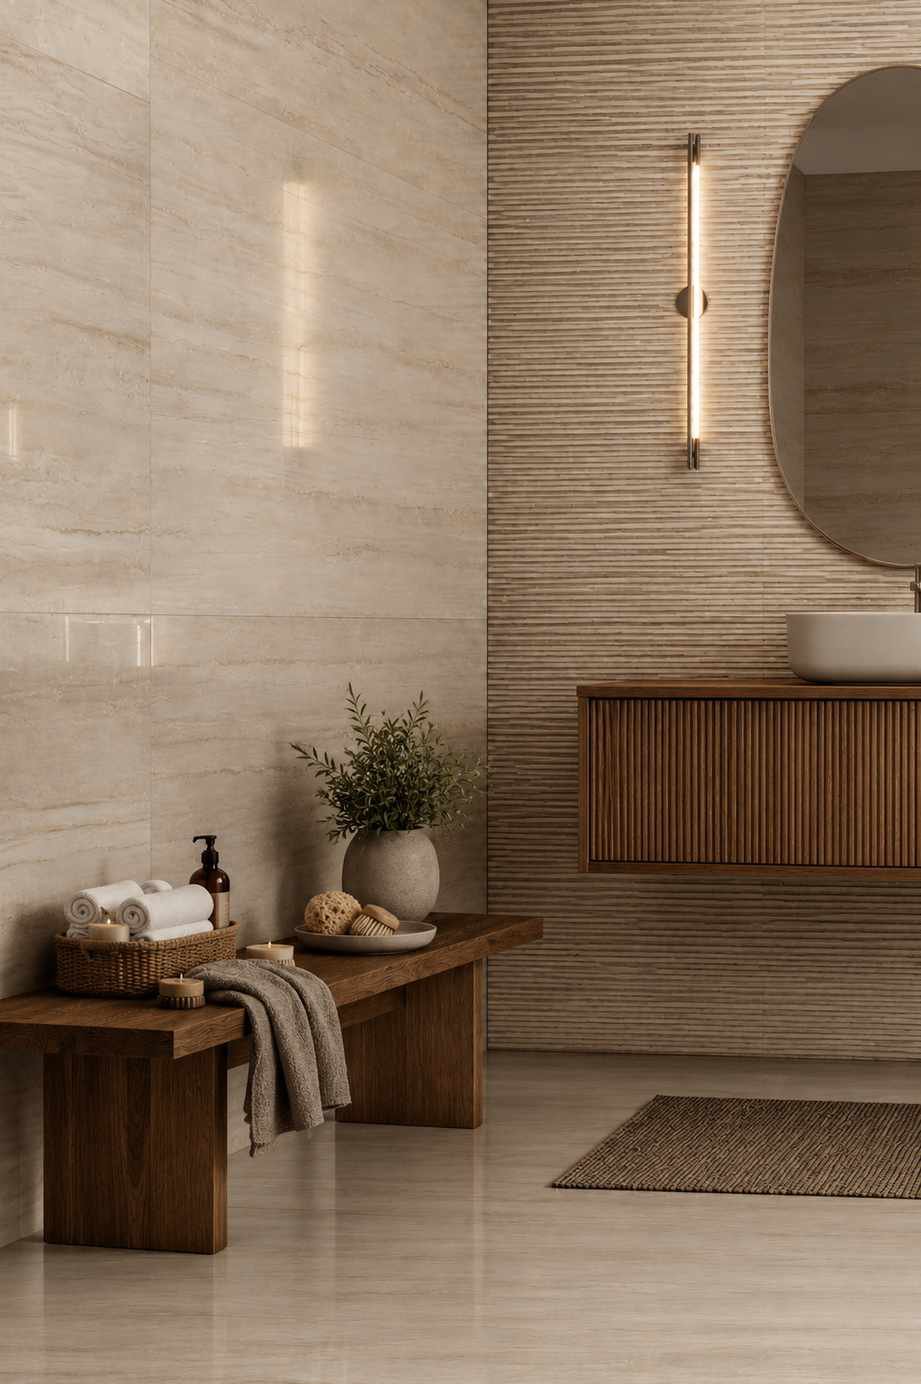
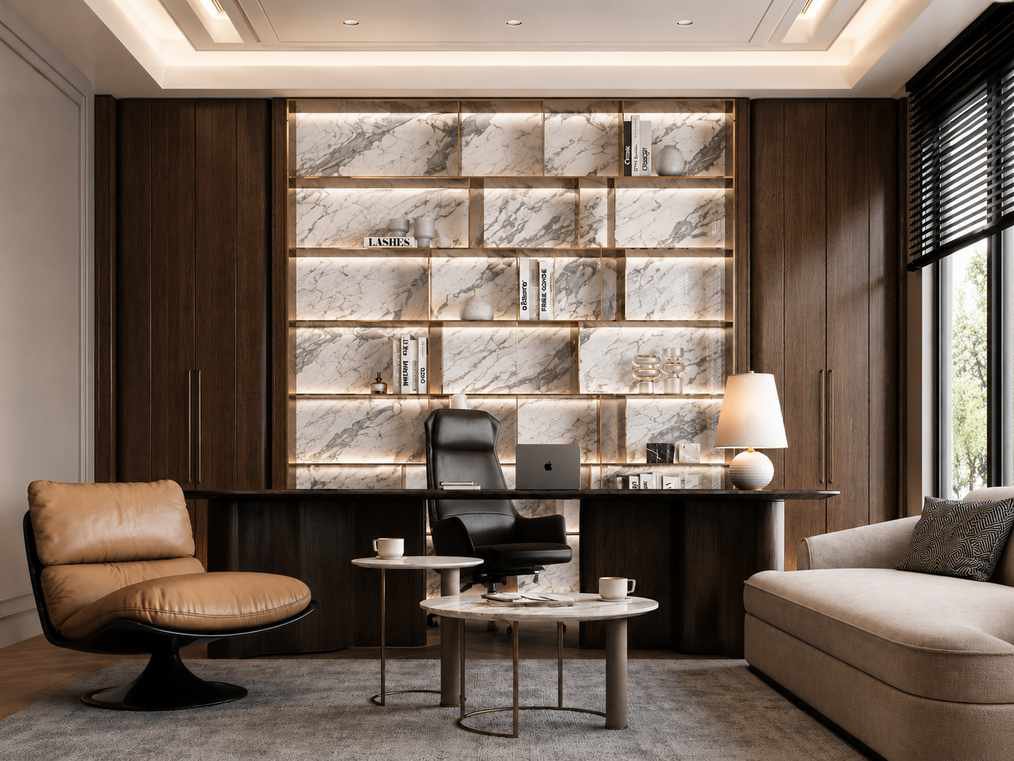
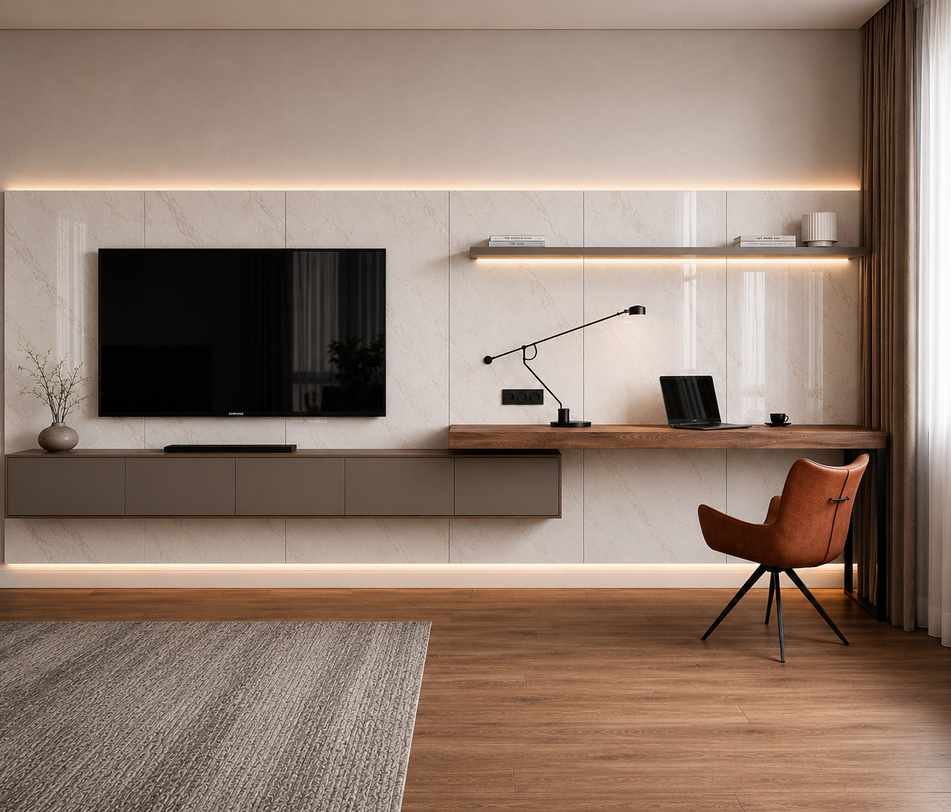
Countertops, islands, wall cladding, furniture, bathrooms and exterior facades.


Technical Data
Composition, tested performance and material comparison.
Composition Breakdown
| Component | Percentage | Function & Characteristics |
|---|---|---|
| Minerals | 40% – 60% | Infused with feldspar to catalyze vitrification, achieving maximum hardness, absolute chemical resistance and lifelong durability. |
| Natural clay, kaolins | 45% | Premium clays and kaolin for structural integrity, producing an ultra-dense, entirely non-porous core. |
| Frit, sand | 5% – 15% | Premium frit and sand form the structural backbone for high-density, ultra-durable, visually refined slabs. |
| Additives | 5% | Resin-free binders, mineral pigments and fiberglass reinforcement for non-toxic safety, vivid color permanence and high-tensile durability. |
| Crystalline silica | 0% | Certified silica-safe and resin-free, protecting fabricators and the environment through advanced thermal vitrification. |
Quality Standard
| Property | Test Method | Standard |
|---|---|---|
| Size | ISO 10545-2 | ±0.5 mm |
| Water absorption rate | ISO 10545-3 | <0.2% |
| Breaking strength | ISO 10545-4 | >4,000 N (12 mm) >10,000 N (20 mm) |
| Bending strength | ISO 10545-4 | >40 N |
| Wear resistance | ISO 10545-7 | PEI III |
| Crazing resistance | ISO 10545-11 | Intact |
| Freezing test | ISO 10545-12 | Intact |
| Thermal shock resistance | ISO 10545-9 | Intact |
Chemical Properties
| Test | Agent | Method | Result |
|---|---|---|---|
| Resistance to staining | Contrasting grout | ASTM C1378-04 (2019) | Not affected |
| Potassium permanganate solution, 1% | ASTM C1378-04 (2019) | Not affected | |
| Resistance to household chemicals and swimming pool salts | Household chemicals: ammonium chloride, 100 mg/L | ASTM C650-20 | Not affected |
| Swimming pool salts: sodium hypochlorite solution, 20 mg/L | ASTM C650-20 | Not affected | |
| Resistance to low concentrations of acids and alkalis | Hydrochloric acid solution, 18% (v/v) | ASTM C650-20 | Not affected |
| Citric acid solution, 100 g/L | ASTM C650-20 | Not affected | |
| Potassium hydroxide, 1000 g/L | ASTM C650-20 | Not affected |
Material Comparison
| Property | Sintered Stone | Quartz Surfaces | Granite | Laminate | Solid Surface |
|---|---|---|---|---|---|
| Scratch resistance | |||||
| Stain resistance | |||||
| Crack & chip resistance | |||||
| High heat & fire resistance | |||||
| Chemical, acid & solvent resistance | |||||
| Ease of maintenance (low maintenance) | |||||
| Impermeability / water resistance – density | |||||
| Mold & mildew resistance | |||||
| Flexural strength | |||||
| Color stability (colorfastness) | |||||
| Freeze-thaw resistance | |||||
| Crystalline silica | 0% | 80% – 95% | 25% – 60% | ≤1% | ≤1% |
Packing Details (Crates)
| Slab Size (mm) | Slabs / Crate | m² / Crate | kg / Crate | Crate Size (mm) |
|---|---|---|---|---|
| 900 x 1800 x 9 | 30 | 97.20 | 2,203.3 | 1000 x 1900 x 950 |
| 900 x 2400 x 9 | 48 | 104.03 | 2,287.0 | 1000 x 2500 x 950 |
| 1800 x 2400 x 9 | 32 | 138.24 | 3,094.3 | 1920 x 2500 x 750 |
| 1800 x 2800 x 12 | 18 | 90.72 | 2,650.1 | 1920 x 2900 x 550 |
| 1800 x 3200 x 15 | 13 | 74.88 | 2,732.1 | 1920 x 3300 x 550 |
| 1800 x 3600 x 20 | 9 | 58.32 | 2,799.4 | 1920 x 3700 x 520 |
Container Loading (1600 x 3200 mm slabs)
| Thickness | Slabs / Box | m² / Box | kg / Box | Boxes / 20 ft | m² / 20 ft | kg / 20 ft |
|---|---|---|---|---|---|---|
| 6 mm | 40 | 204.8 | 3,072 | 7 | 1,433.6 | 21,504 |
| 9 mm | 20 | 102.4 | 3,072 | 7 | 716.8 | 21,504 |
| 12 mm | 16 | 81.92 | 3,072 | 7 | 573.44 | 21,504 |
| 20 mm | 12 | 61.44 | 3,072 | 7 | 430.08 | 21,504 |
Slabs are packed vertically in wooden crates or racks. Contact us for loading plans for other formats.
Product Certifications
Our sintered stone is manufactured and tested to the most stringent global health, environmental and structural standards.
NSF/ANSI Standard 51
Food Zone Safety
Certified for direct, uncompromised food contact. A completely non-porous, naturally antibacterial surface that repels mold and bacteria without releasing chemical residues.
ISO 9001:2015
Quality Management System
Produced under a globally certified quality management system, guaranteeing consistency across every slab so the material specified in the showroom is identically delivered to the job site.
UL GREENGUARD Gold
Indoor Air Quality
Certified for exceptionally low chemical emissions (VOCs). Zero resin and zero toxic polymers, meeting the strictest criteria for sensitive indoor environments including homes and healthcare facilities.
Why Silica-Free Matters
The specification of interior surfaces is shifting permanently away from high-silica composites toward eco-certified, bio-safe materials. Sintered stone with 0% crystalline silica and no resin binders is a direct answer to that shift.
Australia: Federal Ban on Engineered Stone
Following industrial health assessments by Safe Work Australia, federal authorities enacted a nationwide prohibition on the manufacture, supply and processing of legacy engineered quartz. Crystalline silica content above 85% was found to create unacceptable occupational respiratory hazards.
California: Emergency Enforcement
Cal/OSHA approved emergency regulatory action in response to severe silicosis clusters among stone fabricators monitored by the CDC, driving major US developers to eliminate high-silica composites from premium project specifications.
Europe: Stricter Exposure Limits
Research published in Spain and Italy linked a surge in occupational lung disease to high-silica engineered surfaces, triggering stricter EU workplace exposure limits and moving specifications toward 100% natural, resin-free sintered stone.
Sources
- Safe Work Australia (2024). Prohibition on the use of engineered stone. safeworkaustralia.gov.au/esb
- Centers for Disease Control and Prevention (2023). Severe Silicosis in Engineered Stone Fabrication Workers – California. MMWR, 72(29), 773–775. cdc.gov/mmwr/volumes/72/wr/mm7229a2.htm
- California Department of Industrial Relations (2023). Cal/OSHA Approves Emergency Standards to Protect Stonecutters from Silicosis. dir.ca.gov/DIRNews/2023/2023-95.html
- European Agency for Safety and Health at Work (2024). Occupational exposure limits for crystalline silica respirable dust. osha.europa.eu
- NSF International (2025). NSF/ANSI 51: Food Equipment Materials Standards. nsf.org
- UL Solutions (2025). GREENGUARD Certification Program for Low Chemical Emissions. ul.com
Fabrication, Installation & Care Guide
Reference guidelines for fabricators and installers. Always perform preliminary tests on samples before final fabrication.
Structural Tolerances & Radius Guidelines
Minimum Distance from Edges
- Always design a minimum distance of 50 mm between the slab edge and any cutout (hole).
- The same minimum distance of 50 mm must be maintained between adjacent holes.
- The minimum distance between a faucet hole and the slab edge is 30 mm.
Internal Corners (Cutouts)
- The corners of any cutout must have a minimum radius of 5 mm to effectively distribute stress, consistent with handling natural stone, marble and composite materials.
- Internal 90° corners should be avoided. Leaving corners at 90° increases the probability of cracking during processing.
Equipment Check
- Ensure the worktable is clean, perfectly level, solid and free of debris. Cutting discs and tools must be in good condition and suitable for sintered stone.
- Use supplied operating parameters as a reference only; verify them for your specific tools and experience.
- Determine slab orientation before fabrication. Position cutouts centrally and strictly avoid slab edges.
Designing Cutouts for Sinks & Cooktops
General
- Fabricate cutouts only after careful measurement and review of the technical specifications and installation method of the product to be integrated.
- Maintain a minimum gap of 2 mm between the appliance and the slab for thermal expansion (or larger if the appliance manufacturer specifies). Fill the gap with a suitable sealant such as silicone.
- Secure the sink to the cabinet base frame. Calculate the weight of the sink plus the water it holds so the slab is not overloaded. Shape supports to allow sliding drawers to function.
- The cutout perimeter can be reinforced by bonding a strip of sintered stone to the underside of the countertop with an appropriate adhesive.
Cooktop Installation Methods
- Top-mount (drop-in): Appliance edges overlap and protrude a few millimeters above the countertop. Traditional, fast and straightforward.
- Flush-mount (recessed): Appliance sits level inside a pre-cut groove. Requires a precision rebate cut of 3–4 mm depth (adjusted to the appliance edge). Delivers a seamless, easy-clean surface.
- Undermount: Appliance is secured beneath the slab. Requires a minimum 2 mm chamfer (bevel) around the cutout to maximize impact defense and eliminate dirt traps.
Recessed Countertop Section (Dropped-Level Sink)
- Where the area around the sink is lower than the main surface, limit the recess depth to 8 mm for 12 mm slabs and 12 mm for 20 mm slabs.
- The underside remains horizontal, so the perimeter contains spilled liquids. Any sink type can be installed within the recessed area.
Drainage Grooves
- A drip collection groove with an appropriate gradient can be fabricated near the sink cutout using CNC tooling or dedicated abrasive discs.
Integrated Sintered Stone Sinks
- Craftsmanship: Handcrafted sinks require high technical skill and must be prototyped and tested under normal pressure before delivery.
- Handling: Exercise extreme care during packaging, transport and installation to ensure long-term stability at all attachment points.
- Design: The sink bottom must be engineered with a proper slope for drainage and hygiene. Sloped drainage slabs can be integrated as a drip tray seamlessly connected to the countertop; sloping the slab directly (rather than abrading a gradient) keeps surface properties fully intact.
Support, Overhangs & Joints
Support Design
- 12 mm and 20 mm slabs can be supported by horizontal bases without additional structures, provided the maximum center-to-center support distance is 600 mm for 12 mm slabs and 1,000 mm for 20 mm slabs.
- The area around sink and cooktop cutouts must be securely reinforced, and cutouts must be supported along their entire perimeter.
Overhangs
- Anchor the countertop securely to the base (mechanically or with adhesive) to prevent a "lever effect" that could cause movement and cracking near cutouts.
- Recommended maximum overhang (unit width 600–2,300 mm): 12 mm slabs: 30 mm; 20 mm slabs: 450 mm.
- The portion of the slab resting on the support must have a solid depth (without cutouts) at least equal to the overhang length, except for circular faucet holes.
- Where this cannot be achieved, reinforce the cabinet base with steel profiles (maximum span 1,200 mm) or a continuous wooden board to prevent deflection.
Countertop Fabrication & Installation
- Secure slabs to frames with mechanical fasteners or adhesives. Threaded inserts may be used with a maximum drilling depth of 6 mm. Velcro or epoxy adhesives are also suitable depending on frame type and indoor/outdoor use.
Joints & Connections
- Do not use slabs of different thicknesses on the same finished surface.
- L-shaped countertops require a flat, solid substrate. For mitered or diagonal joints (used for vein continuity), the base must support the points where the diagonal cuts meet.
- Single-piece L-shaped surfaces should only be designed when the supporting base units are perfectly level and structurally stable. The internal corner must have a minimum radius of 5 mm.
- Avoid torsional (twisting) movement during fabrication, packaging and installation.
Cutting: Disc, Waterjet & Manual
Disc Cutting
- Equipment: Specialized diamond blades designed for sintered stone, in optimal condition, on dedicated machinery. Align cutting direction with blade rotation.
- RPM: Smaller blade diameters require higher rotation speeds.
- Feed rate: Lower feed rates yield higher cut quality; excessive speeds cause chipping or breakage.
- Entry/exit: Reduce feed rate by 50% at entry and exit points for a distance of at least the blade diameter.
- Cooling: Direct water nozzles toward the blade for cooling and debris removal.
- Blade depth: The blade must fully penetrate the slab, protruding at least 1 mm beyond the bottom surface.
- Stability: Minimize slab vibration with rubber mats or compatible underlayment. Use smaller-diameter blades with reinforced cores to minimize deflection.
- Miter cuts: Ensure precise machine calibration for inclined cuts.
- Material caution: White-body materials are more sensitive to high speeds; adjust feed rates accordingly. Replace blades immediately if cut quality degrades.
| Material Thickness | Cut Type | Blade Dia. (mm) | RPM | Feed Rate (mm/min) | Entry/Exit Speed |
|---|---|---|---|---|---|
| 12+ mm slab | Straight | 350 | 1800 / 1900 | 1000 / 1400 | Reduce 50% |
| 400 | 1600 / 1800 | 1000 / 1400 | |||
| 500 | 1300 / 1400 | 1000 / 1400 | |||
| 12+ mm slab | Inclined | 350 | 1800 / 1900 | 500 / 800 | Reduce 50% |
| 400 | 1600 / 1800 | 500 / 800 | |||
| 500 | 1300 / 1400 | 500 / 800 | |||
| 20+ mm slab | Straight | 350 | 1800 / 1900 | 800 / 1000 | Reduce 50% |
| 400 | 1600 / 1800 | 800 / 1000 | |||
| 500 | 1300 / 1400 | 800 / 1000 | |||
| 20+ mm slab | Inclined | 350 | 1800 / 1900 | 400 / 500 | Reduce 50% |
| 400 | 1600 / 1800 | 400 / 500 | |||
| 500 | 1300 / 1400 | 400 / 500 |
Recommendations derived from manufacturer testing on white, medium and black body materials, assuming single-pass cutting with blades in optimal condition.
Waterjet Processing
- Sintered stone is fully compatible with high-precision waterjet cutting, shaping and drilling.
- Ensure the metal support grid and cutting bed are level and in optimal condition. Clamp the workpiece securely to prevent movement and breakage.
- Execute larger cutouts first, followed by smaller ones (e.g., the sink opening before faucet holes).
- For internal cuts, initiate piercing within the waste area (scrap), then ramp toward the cutting perimeter. Maintain a minimum corner radius of 5 mm.
| Material Thickness | Pressure (MPa) | Feed Rate (mm/min) | Abrasive (Cutting) | Piercing Pressure (MPa) | Abrasive (Piercing) |
|---|---|---|---|---|---|
| 12+ mm slab | 380 / 413.5 | 1000 / 1200 | Mesh 80 (350–500 g/min) | 40 / 80 | Mesh 80 (100–150 g/min) |
| 20+ mm slab | 380 / 413.5 | 600 / 800 | Mesh 80 (350–500 g/min) | 40 / 80 | Mesh 80 (100–150 g/min) |
Manual Cutting
- Manual tools are suitable for processing sintered stone: diamond discs, core bits or abrasive pads (various grits) for cuts, holes and edge finishing.
- Firmly secure the slab to prevent movement and vibration, and apply water to cool the cutting line.
Post-Fabrication Cleaning & Adhesives
- Machining residue (sludge) hardens on drying and can stain or scratch, especially on dark colors. Rinse thoroughly with abundant water immediately after fabrication and dry with paper towels. Never store processed material wet.
- Polished surfaces: use compressed air to remove dust and strictly avoid dragging metal objects across the surface.
- Use polyurethane or epoxy adhesives for joining slabs and integrated sinks. Epoxy forms a permanent bond that is extremely difficult to remove once cured; remove excess immediately with a sponge or soft cloth and the manufacturer's recommended cleaning agents.
- Unloading: use lifting equipment with sufficient suction pads to prevent slab flexing, especially for slabs with cutouts. When handling manually, always transport slabs vertically.
Edges, Miters & Box Structures
Straight Edges and Miters
- Use a 5-axis CNC machine with abrasive discs of increasing grit sizes.
- Apply a minimum 2 mm bevel to enhance edge durability and minimize damage from accidental impacts.
- Other edge profiles are processed with specific profile grinding tools on CNC machinery; feed rates and speeds must be pre-tested and verified.
Edges and Box Structures
- Sintered stone can be processed to create continuous joints, enabling assemblies thicker than the base slab such as sinks and box sections, while maintaining pattern continuity.
- Before applying adhesive, protect adjacent surfaces with PE film or rubber tape. Clean all contact areas, apply a uniform layer of adhesive and secure components until fully cured.
- Once the adhesive has hardened, apply a minimum 2 mm bevel to the edge.
Reinforcement and Bonding
- Use scrap material from the same slab to reinforce joints, secured with the same adhesive used for 45° mitered edges.
- Use a two-component adhesive (epoxy-based or equivalent), pre-colored or transparent, with the option to add pigments matching the slab color.
- Clean all excess adhesive immediately and thoroughly, following the manufacturer's instructions.
Packaging, Transport & On-Site Installation
Packaging and Transport
- Exercise extreme care to avoid twisting, torsion or impacts, especially on edges.
- Always transport finished products vertically with cutouts facing upward. Never use cutouts as lifting points.
- Pack slabs in wooden crates or suitable frames with all edges and corners protected by foam or polystyrene guards. Countertops with integrated sinks require crates with internal supports to carry the sink's weight.
- Move and stack crates vertically. Countertop products must lean against the vehicle wall or supporting frames and be secured with straps.
Base Preparation & Handling
- Ensure base units are leveled, fastened and provide continuous support. Install intermediate reinforcement for any unsupported perimeter areas or 45° joints.
- Keep the slab vertical with cutouts facing up. Support the underside with a wooden plank during positioning and lower to horizontal with extreme caution, especially for integrated sinks.
Sink Support & Clearance
- Maintain continuous support for the sink weight until installation is fully complete. Fit perimeter brackets and install sink supports immediately.
- For base units with sliding drawers, verify bracket shapes allow proper sliding movement.
- If the countertop geometry or base provides insufficient support, install a wooden sub-top (or equivalent) for continuous, uniform support.
- Install the slab with a 2–3 mm clearance from the wall and fill the gap evenly with silicone sealant.
Post-Installation Cleaning
- Remove excess silicone and sealant with a solvent or soft sponge.
- Use acid-based cleaners and a soft sponge to remove cement residue, then rinse thoroughly with clean water.
- If epoxy or polyurethane residue is detected, treat immediately with basic cleaning agents and a soft sponge; full removal may not be possible once fully cured.
Care, Cleaning & Stain Guide
Usage & Maintenance
- Impact protection: Avoid impacts to corners, edges and integrated sinks during daily use.
- Load limitations: Do not stand or climb on the countertop or subject it to excessive weight. Overloading causes breakage, particularly near cutouts or areas with minimal support.
- Routine cleaning: Use a soft cloth or sponge with water and, if necessary, a neutral pH detergent suitable for kitchen surfaces.
- Stain management: No special maintenance is required, but remove stains immediately; prolonged exposure may require specific cleaning agents.
Detergent Selection
- Food stains: alkaline detergents (high pH products such as ammonia or bleach).
- Inorganic stains: acidic detergents (descalers or limescale removers).
- Grease & oil: dedicated degreasing products.
| Stain Type | Daily Cleaning Routine | Stubborn Stain Cleaner |
|---|---|---|
| Wine | Warm water and neutral detergent | Alkaline* |
| Ice cream, coffee, tea, tomato, balsamic vinegar, lemon, cola, beer, fruit juice, jam, milk, nicotine | Warm water and neutral detergent | Alkaline* |
| Oil, butter, grease, oily substances, wax | Warm water and neutral detergent | Degreaser |
| Rust, limescale, metal marks, cement residue, chalk | Warm water and neutral detergent | Acidic |
| Nail polish | Warm water and neutral detergent | Solvent |
*Alkaline / Bleach Cleaning Procedure
- Cloth application: Dampen a soft cloth with the alkaline agent and scrub for several seconds. Most residue dissolves within 2–3 minutes.
- Direct application: Alternatively, pour the agent directly onto the surface and allow it to dwell for a maximum of 10 minutes. Do not allow the solution to dry on the surface.
- Rinsing: Repeat until fully clean and rinse thoroughly with water after each application.
Slab Handling, A-Frames & Storage
Moving A-Frames with a Forklift
- Lift the A-frame symmetrically to prevent instability. Use a forklift with a minimum capacity of 5,000 kg.
- Lifting point "A" (lateral, recommended): Lift from the 3,200 mm side with forks at least 1,200 mm long; minimum distance from the load center to the fork tip is 740 mm.
- Lifting point "B" (longitudinal, alternative): Requires forklift capacity exceeding 5,000 kg and fork extensions of at least 2,800 mm, centered beneath the pallet.
- Always ensure the load is balanced, stable and does not oscillate. Keep the load low during transport and raise it only when close to the truck.
- Secure slabs to the A-frame with fabric or plastic slings/straps. Metal chains are strictly prohibited. Place the A-frame on a level surface before releasing straps.
Loading/Unloading Open-Bed Trucks
- Use the "A" direction with a minimum center-to-center fork distance of 740 mm and 1,200 mm forks so the A-frame is centered on the truck bed.
- Secure A-frames to the truck bed with polyester (or similar) straps at both the wooden base and the highest point of the metal structure. Maintain a minimum spacing of 50 mm between A-frames.
- Before unloading, verify how each A-frame is secured so restraints can be removed efficiently. Keep personnel clear of the area.
Bundled Slabs & Single Slabs
- Slabs stacked in vertical frames (bundles) require specialized sling lifting equipment on a forklift with a minimum capacity of 7,000 kg, or an overhead crane with a slab-handling boom/gripper.
- When removing slabs from an A-frame, alternate sides to keep the load symmetrical and stable.
- Move single slabs with vacuum lifters, lifting equipment, an overhead crane or rubber-coated fabric slings. Never use chains or steel cables; if using clamps, fit rubber clamp covers to protect polished slabs.
Storage
- Store slabs vertically on metal racks or suitably structured stands with protective elements (wood, rubber or plastic). Shipping A-frames may also be used for storage.
- If storing outdoors, ensure A-frame stability in adverse weather. Slabs stored vertically may show a slight curve when taken down; this is not a defect and disappears once the slab lies flat.
- Do not place other materials on top of slabs, especially polished surfaces. When storing polished slabs, insert spacers (polystyrene sheets or wooden strips) between them.
Bring Sintered Stone to Your Product Line
Request samples, slab availability and container pricing from our sales team.